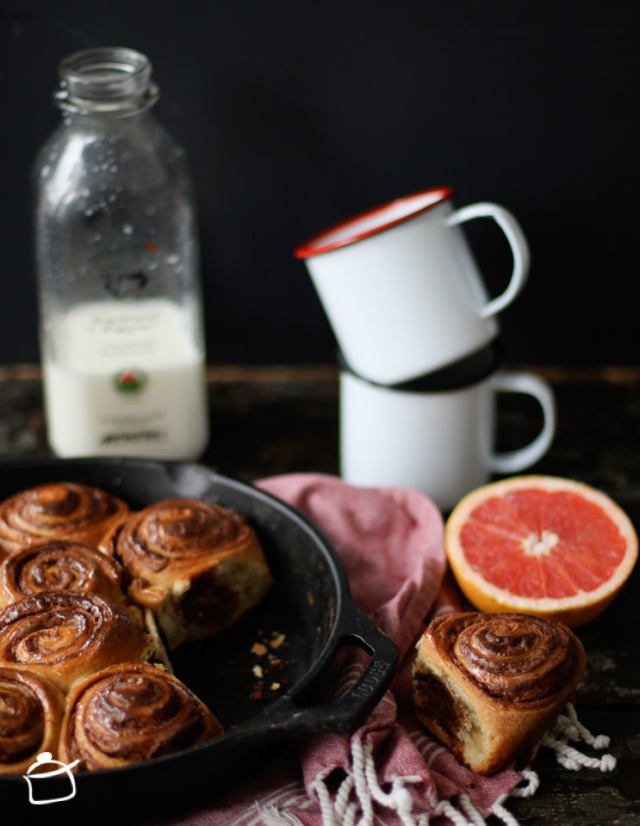
Coffee rolls with hazelnut cream

homemade coffee buns with hazelnut cream

french version english version italian version (SCROLL DOWN)

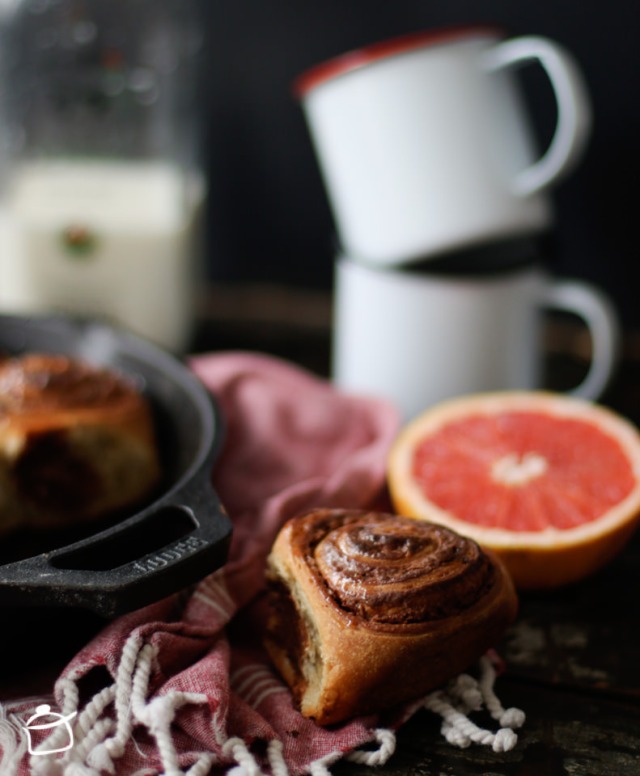
The new kitchen utensils are like new clothes, as soon as I buy a new one I want to use it as much as I can. This happened, of course, with my cast iron skillet. After a few months of leers and smiles, I bought it and despite its weight, I brought with me proudly happy. Since the cast iron skillet belongs to my collection of pots, pans and sauce pans, I’ve always been looking for an excuse to use it. After several eggs, omelettes and some cakes, the time has come for sweet rolls. The dough is enriched with coffee and stuffed with hazelnut cream. Thanks to Selma for having inspired me with her wonderful recipe, it has been a real success at home!

Ingredients:

100 gr. of lukewarm milk • 50 gr of water • 7gr. of fresh yeast • 60 gr. of butter, softened • 1 egg • 1 cup of espresso coffee • 45 gr. of cane sugar • 250 gr. of flour • 200 gr. of organic hazelnut cream • maple syrup for garnish

  • Mix the milk and water, dissolve yeast and let it stand for 10 minutes;
  • In a bowl, mix the butter, egg, sugar and coffee;
  • Add in the yeast mixture;
  • Put the flour in a large bowl, make a hole in the middle and pour in the yeast and butter mixture, knead the dough by hand for 4-5 minutes, making movements from the sides of the bowl towards the center;
  • As soon as your kneading is fairly homogeneous, place it on a floured work surface and knead for a few minutes until you obtain an elastic bowl of dough;
  • If you have a standing mixer, just mix the ingredients for 5 minutes;
  • Return the dough in the large bowl, cover and let it stand for at least 3 hours;
  • Roll out dough on floured surface, trying to give a rectangular shape (thick about 5 mm);
  • Brush the dough homogeneously with hazelnut cream, making sure to not cover the edges;
  • Roll the dough, forming a large cylinder and cut it into pieces of 3 cm (more or less);
  • Grease the cast-iron skillet with butter and put the pieces into it. Make sure to not put them too close each other, cover with a tea towel and let stand for 1-2 hours;
  • Preheat oven to 180° and bake the rolls for 20-25 minutes;
  • Let the rolls cool down a bit and sprinkle with maple syrup.

Rouleaux au café farcis à la crème de noisettes

a di rose al caffè con cream di nocciole

Les nouveaux ustensiles de cuisine sont comme de nouveaux vêtements, dès qu’on les achète on a toujours très envie de les utiliser. Il en fut ainsi pour ma poêle en fonte, après quelques mois de regards et de sourire entendu, je l’ai acheté, et malgré son poids, je l’ai ramené chez moi très fière et contente. Depuis qu’elle est dans ma collection de marmites, poêles et casseroles, je cherche toujours un prétexte pour l’utiliser. Après plusieurs œufs, omelettes et quelques gâteaux, le moment est arrivé pour des rouleaux de pâte sucrée au café et farcis avec de la crème de noisettes. Merci à Selma et à sa magnifique recette, ce fut un vrai succès à la maison !

Ingrédients:

100 gr. de lait tiédi • 50 gr. d’eau • 7 gr. de levure fraiche • 60 gr. de beurre ramolli • 1 œuf • 1 tasse de café expresso • 45 gr. de sucre de canne • 250 gr. de farine •  200 gr. de crème de noisettes biologiques • sirop d’érable pour la garniture

  • Mélangez le lait et l’eau, dissolvez-y la levure et laissez reposer pendant 10 minutes;
  • Dans un bol, bien mélangez le beurre, l’œuf, le sucre et le café;
  • Ajoutez le mélange avec la levure;
  • Dans un plus grand bol, faites un trou et versez-y le mélange de levure et beurre, pétrissez la pâte à la main en faisant des mouvements des côtés jusqu’au centre pendant 4-5 minutes, ou avec une machine à pâte 3-4 minutes;
  • Si vous travaillez à la main, dès que votre pétrissage sera assez homogène, transférez-le sur une surface de travail enfarinée et travaillez quelques minutes pour obtenir un bol de pâte élastique;
  • Mettez la pâte dans le bol, couvrez et laissez reposer au moins 3 heures;
  • Étalez la pâte sur la surface farinée, en cherchant à faire un rectangle (épaisseur d’environ 5 mm);
  • Badigeonnez le rectangle de pâte avec la crème de noisettes d’une façon homogène, sans trop couvrir les côtés;
  • Roulez la pâte en formant un gros cylindre et coupez-le en morceaux d’environ 3 cm;
  • Graissez la poêle en fonte avec du beurre et mettez-y les morceaux (pas trop collés les uns aux autres, car ils vont gonfler et s’attacher naturellement) couvrez avec un torchon et faites reposer pendant 1 à 2 heures;
  • Préchauffez le four à 180° et cuisez les rouleaux 20-25 minutes;
  • Laissez refroidir et saupoudrez de sirop d’érable.

Buns al caffé con crema di nocciole

rouleaux au café et crème de noisettes

Ingredienti:

100 gr. latte tiepido • 50 gr. di acqua. • 7 gr. di lievito fresco • 60 gr. di burro morbido •1 uovo • 1 tazza di caffè espresso • 45 gr. di zucchero di canna• 250 gr. di farina • 200 gr. di crema di nocciole biologica • sciroppo d’acero per guarnire

  • Mescolate il latte e l’acqua e scioglietevi il lievito, lasciate riposare per 10 minuti;
  • In una ciotola mescolate bene il burro, l’uovo, lo zucchero e il caffè (non bollente);
  • Aggiungeteci il composto di lievito;
  • Versate la farina in una grande ciotola, fate un foro e versate il composto di lievito e burro, impastate facendo dei movimenti dall’esterno verso il centro per qualche minuto;
  • Non appena l’impasto è abbastanza omogeneo, trasferitelo su un piano di lavoro infarinato e lavoratelo per 2-3 minuti fino a ottenere un impasto elastico e ben liscio;
  • Se avete a disposizione una planetaria, impastate semplicemente per 3-4 minuti;
  • Mettete l’impasto nella ciotola, coprite e lasciate riposare per almeno 3 ore;
  • Stendete l’impasto sulla superficie infarinata, cercando di realizzare un rettangolo (spessore dovrà di circa 5 mm);
  • Spalmate il rettangolo di pasta con la crema di nocciole, lasciando i bordi liberi;
  • Arrotolate la pasta come per formare un grande cilindro, tagliatelo a pezzi di circa 3 cm ciascuno;
  • Imburrate la padella in ghisa, sistemate i rotolini di pasta non troppo vicini tra loro, coprite con un canovaccio e lasciate riposare per 1-2 ore;
  • Preriscaldate il forno a 180 ° e cuocete per 20-25 minuti;
  • Lasciate raffreddare e spennellate di sciroppo d’acero.

breakfast recipes

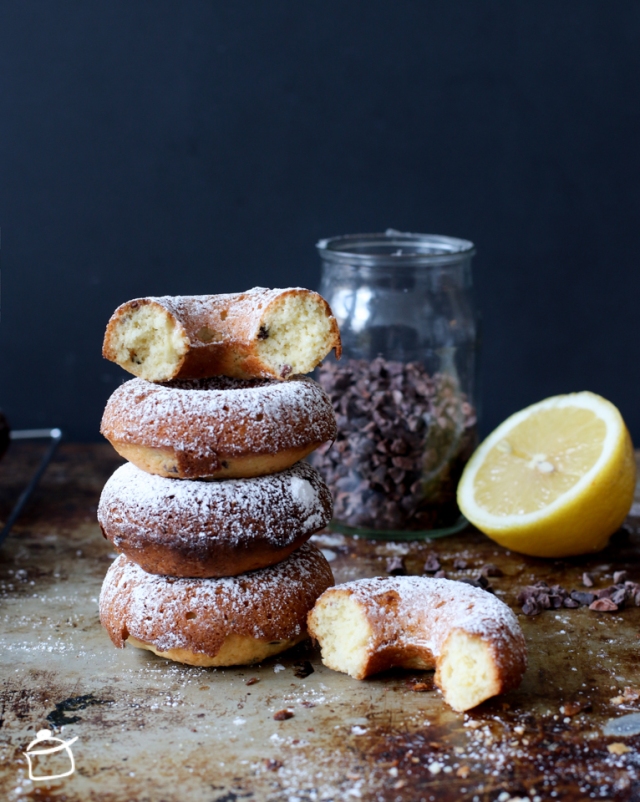
Lemon and chocolate nibs (baked) donuts

lemon baked donuts

french version english version italian version (SCROLL DOWN)

I have already said everything about lemon and it might be redundant saying again how deep is my passion for this citrus fruit. The “odd news” here is the “marriage” with the cocoa nibs, in other words the cacao beans that have been roasted, separated from their husks, and broken into smaller pieces. Continue reading

Shortbread cookies with hazelnuts and orange

sablé aux noisettes et à l'orange

french version english version italian version (SCROLL DOWN)

I love all kinds of cookies, but I admit that I’m not a good baker of them. First because often I don’t guess the right cooking time, and let us speak the truth, making a cake is faster, no need to struggle with the dough that sticks to your hands or with the shape that does not look like you had imagined … Continue reading

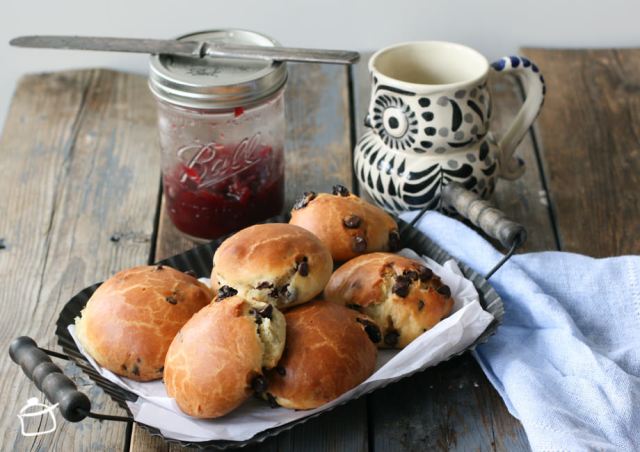
Small milk and chocolate buns

sweet milk buns

french version english version italian version (SCROLL DOWN)

I have an “internal” war between my moral responsibility and the craving that I have for bread, in all its forms. Well, this “war” is doomed; it’s completely useless ringing around. After 3 days of resistance, I find my body walking inside a bakery or preparing some bread. Continue reading

Apple yoghurt pie with cranberry jam

tarte de pommes1

french version english version italian version (SCROLL DOWN)

Before leaving for Italy on December, I made a lot of cranberry jam to give to my Italian friends, but with the rush and excitement of the departure, I forgot to put them in my suitcases. The result is that after the holidays, I found myself “alone” with all these jams. Continue reading

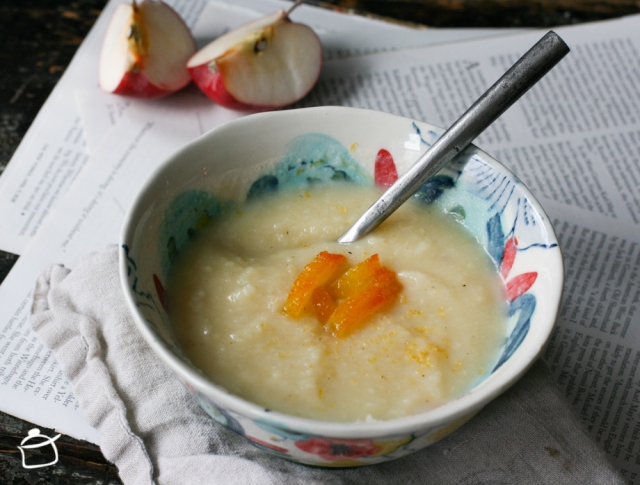
Parsnip and apple creamy soup

parsnip  and apple creamy soup

french version english version italian version (SCROLL DOWN)

The first time I had to deal with a parsnip, I imagined holding just an anemic big carrot in my hands. Of course, I was wrong, parsnips are parsnips; carrots are carrots, even if they look very similar. It seems the “brave” parsnips love the winter temperatures, so this explains why they are found almost everywhere in Quebec during our well known cold winter. Parsnips by the way are a good source of potassium and folic acid. Continue reading

Torta della nonna (grandmother’s cake)

shortbread and custard cake

french version english version italian version (SCROLL DOWN)

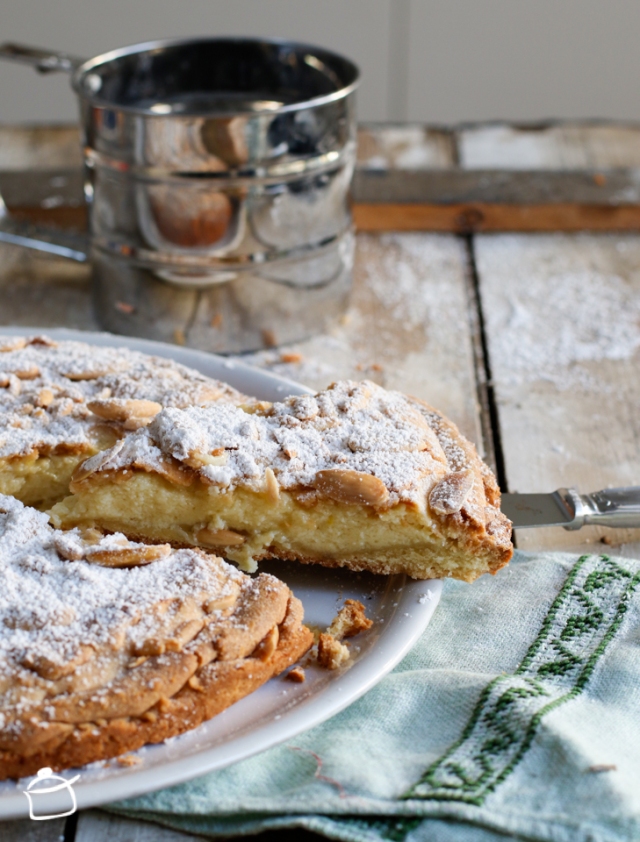
The “grandmother’s cake” is a typical cake from Tuscany. A simple cake made with shortbread crust stuffed with pastry cream and pine nuts on top. Found almost everywhere, it’s really hard to go to Tuscany and not taste it. The simplicity of its ingredients and its preparation makes it a versatile dessert that’s generally well appreciated by everyone. In my family this cake is made often for birthdays and any other kind of “home events”. We prepare it so often that we don’t look at the grams anymore, and it’s prepared mostly by heart. Continue reading

Chocolate crumble banana bread

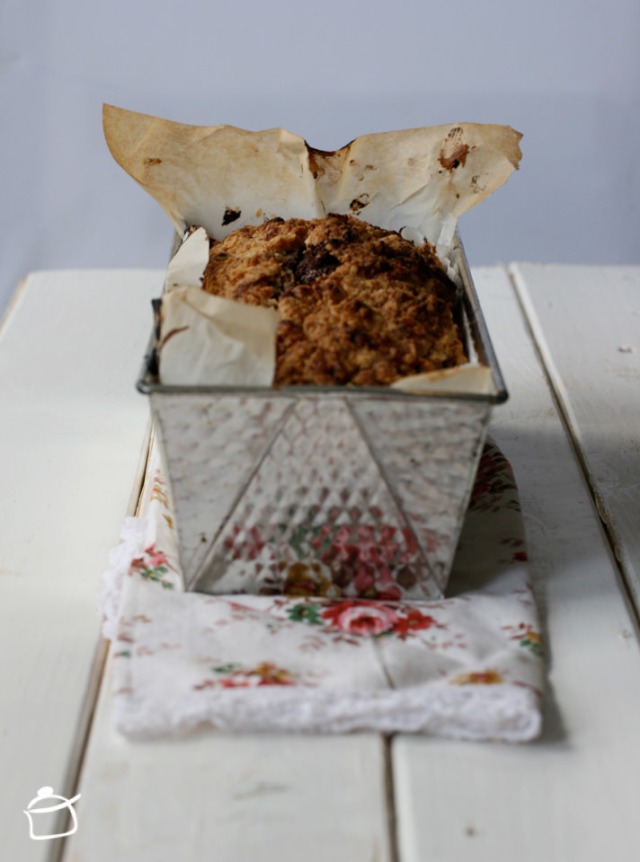
chocolate banana bread with crumble french version english version italian version (SCROLL DOWN) Banana breads are the equivalent to apple cakes in terms of how good they are. Whole-wheat flour, regular sugar or brown sugar, oil, butter, whatever you prefer, it’s always worth a try, isn’t it? It’s true that so far, I’ve tasted more apple cakes than banana breads, but I’m sure I will catch up very soon. Continue reading

Cauliflower and amaranth creamy soup

crème d'amarrant et chou-fleur

french version english version italian version (SCROLL DOWN)

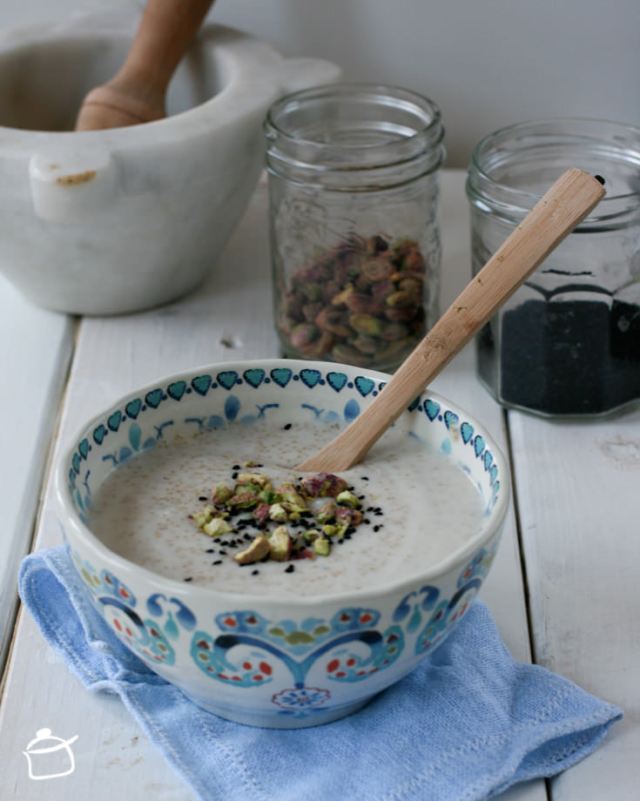
Archived the colours and the lights of Christmas; it takes a lot of strength and happiness to face the worst months of the winter, with its terrible temperatures and its several inches of snow. I’ve tried to find innovative dishes, using for the very first time the amaranth. Continue reading

Lemon and goat yoghurt cake

torta al limone e yogurt di capra

french version english version italian version (SCROLL DOWN)

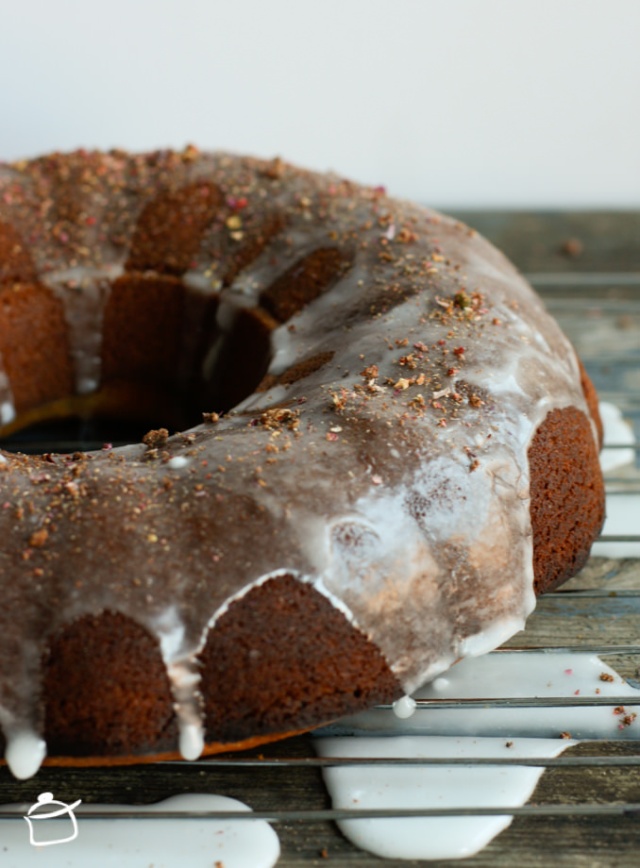
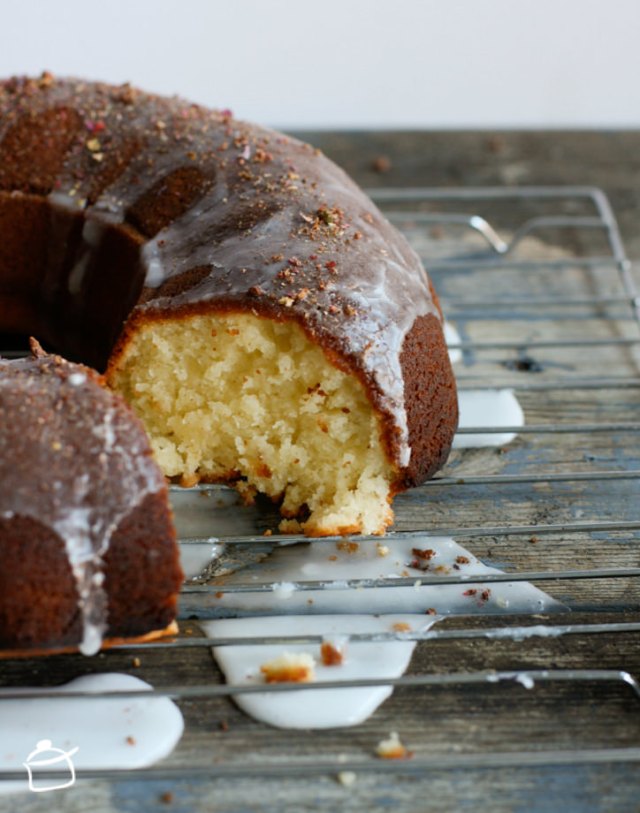
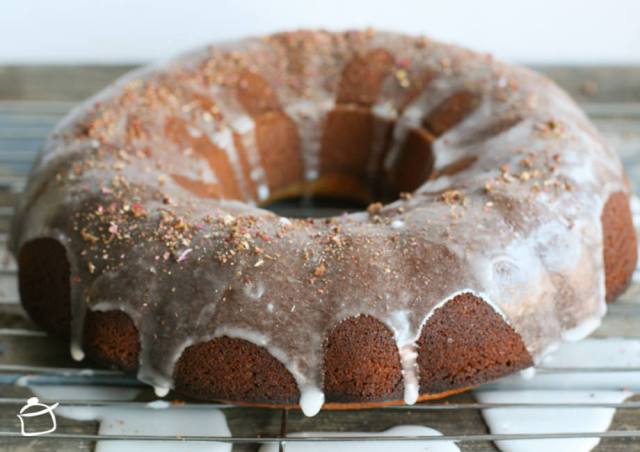
Lemons are my “déja vu”, they are often either protagonists or background actors in my recipes with zest, juice or even both. And whenever I use them, there are no regrets, neither with this lemon and goat yogurt cake. I found the recipe in Donna Hay’s magazine and I could not resist giving it a try. Perfect as a snack with a cup of tea, or for a rushed breakfast or even for a lazy afternoon along a good book.

Ingredients:

180 ml. of vegetable oil (almond for me) • 2 eggs •1 tablespoon of grated lemon rind • 60 ml. of lemon juice • 280 gr. of sugar • 180 gr. of goat yoghurt • 300 gr. of flour • 1 teaspoon of yeast. For the frosting: 160 gr. icing sugar • 1 tablespoon of lemon juice • ½ tablespoon of hot water.

  • Please note that in the original recipe a self-raising flour and a lot more sugar is supposed to be used
  • Preheat the oven to 180°, grease a mold with butter, set aside:
  • Put oil, juice, zest, yoghurt and sugar in a bowl and mix well;
  • Sift the flour with the baking powder, add the goat yogurt mixture and mix until you obtain a homogeneous mixture;
  • Put the mixture into the mold and bake 35-40 minutes;
  • When the cake is ready, let it cool down completely and prepare the frosting by mixing the three ingredients;
  • Pour the icing mixture over the lemon and goat yogurt cake, always starting from the middle. The icing mixture will cover all the sides slowly.

Gâteau de yaourt de chèvre et citron

gâteau au citron et yaourt

Le citron dernièrement est devenu mon « déjà vu », il revient souvent dans mes recettes, avec son zeste, son jus ou les deux. Et toutes les fois que je l’utilise, il n’y a jamais de regrets, avec ce gâteau il en fut encore ainsi.
Je l’ai découvert dans le magazine Donna Hay et je n’ai pas résisté à l’essayer. Parfait pour un goûter avec un thé ou un café, pour un petit déjeuner en vitesse ou un après-midi de paresse, peut-être avec un bon livre.

Ingrédients:

180 ml. d’huile végétale (d’amandes pour moi) • 2 œufs • 1 cuillère à table de zeste de citron râpé • 60 ml. de jus de citron • 280 gr. de yaourt de chèvre • 180 de sucre • 300 gr. de farine • 1 cuillère à thé de levure. Pour le glaçage : 160 gr. de sucre à glace • 1 cuillère à table de jus de citron • ½ cuillère à table d’eau chaude.

  • Dans la recette originale, il y a de la farine auto levante et beaucoup plus de sucre.
  • Préchauffez le four à 180°, graissez un moule avec du beurre, réservez :
  • Mettez l’huile, le jus, le zeste, le yaourt et le sucre dans un bol et mélangez bien ;
  • Tamisez la farine avec la levure, ajoutez-la au mélange de yaourt de chèvre et mélangez jusqu’à obtenir un mélange homogène ;
  • Mettez la mixture dans le moule et cuisez au four 40 minutes ;
  • Quand le gâteau sera prêt, laissez-le refroidir et préparez le glaçage en mélangeant les trois ingrédients ;
  • Versez au-dessus du gâteau de yaourt de chèvre et citron, en partant toujours du milieu. Le glaçage coulera ainsi sur les côtés progressivement.

Torta al limone e yogurt di capra

lemon and goat yogurt cake

Ingredienti:

180 ml. d’olio vegetale (mandorle per me) • 2 uova • 1 cucchiaino di scorza di limone grattugiata • 60 ml. di succo di limone • 280 gr. di yogurt di capra • 180 gr. di zucchero • 300 gr di farina • 1 cucchiaino di lievito. Per la glassa: 160 gr. di zucchero • 1 cucchiaio di succo di limone • ½ cucchiaio di acqua calda.

  • Nella ricetta originale prevede farina auto lievitante e molto più zucchero.
  • Preriscaldate il forno a 180°, imburrare una teglia da dolci con del burro o rivestitela con della carta da forno, tenete da parte;
  • Mettere l’olio, il succo, la scorza, lo yogurt e lo zucchero in una ciotola e mescolate bene;
  • Setacciate la farina con il lievito, aggiungere il composto di yogurt di capra e mescolare fino ad ottonere un composto omogeneo;
  • Versate il composto nella teglia e cuocere per circa 40 minuti;
  • Quando la torta è pronta, lasciatela raffreddare e preparare la glassa mescolando i tre ingredienti;
  • Versatela sulla torta partendo dal “centro”, la glassa colerà gradualmente ai lati.

butter free lemon cake»